
 Tweet
Tweet
Originally posted by LRRPF52
View Post
-
Very curious about this. When you cerakote an ar. What parts do you cerakote, or more importantly, which ones do you not. I know that a NiBo carrier and the bolt are no go's. I'm assuming you don't do the extension? complete inside of the upper? If so, how are you lapping the raceway? What about the lower and LPK? -
I do an aggressive de-greasing of all the parts first, followed by an acetone bath. I hang the parts in a spray cabinet I built, with hooks that rotate from above the cabinet so I can turn the parts as I spray them. You don't want to touch Cerakote when it's wet, because it's a microscopic mud in consistency, and needs to be heated, then ground down, then re-finished if you smudge it.
I start with the stripped receivers, and get all inside on the lower, to include the fire-control housing. I have found that the thickness of the coating can affect function of the mag catch, so I use thinner layers with an airbrush now.
I do prefer to coat the receiver extension, the end plate, and lock nut for telescoping stock assemblies. I coat the upper, but I usually use a receiver insert that I made that holds the upper when I spray it, so the inside does not get coated. I have tried it both ways, and with an upper that has the inside coated, I put polishing compound on the bolt carrier rails, and work it into the upper so that there isn't any additional drag on the carrier.
Every single upper I have Cerakoted functions reliably with both approaches, but I would say the gas system, BCG, recoil system, barrel, ammunition, magazines, and lubrication are the biggest factors in reliability. Each one of those listed systems or components can often have a laundry list of hang-ups that will rape your reliability formula if you don't know how to trouble-shoot an AR15. For example, we had a recent discussion about the gas tube alignment, the flange, and how it inserts into a properly chrome-lined carrier key. Screw that up, and your gun will not be accurate, and will eventually start to short-stroke after a portion of the gas tube flange is worn down by the chrome-lined carrier key.
I Cerakote the barrel, except for the extension, the threads, the muzzle, and a small area around the gas block journal to ensure that no Ceramic mud gets into the gas port, the chamber, or the muzzle. There are tools that help with accomplishing this that will survive the oven when you got to bake on the coating.
I do like to coat the area inside of the upper, which I call the extension tunnel. The tighter the fit is to the upper, the more of a warm and fuzzy I get.
I also coat the Charge Handle at the "T" area, which is exposed. If I were a manufacturer, I would consider NiB on the CH shaft, with NiB inside the upper.
I also coat the muzzle device. If the handguard is one that I feel would benefit from coating, I coat it too.
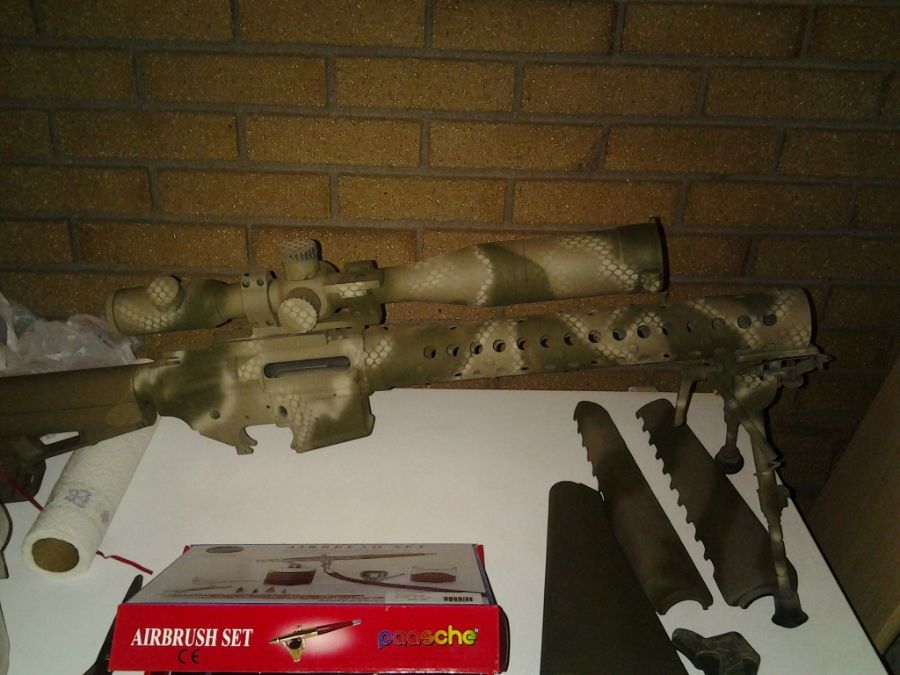
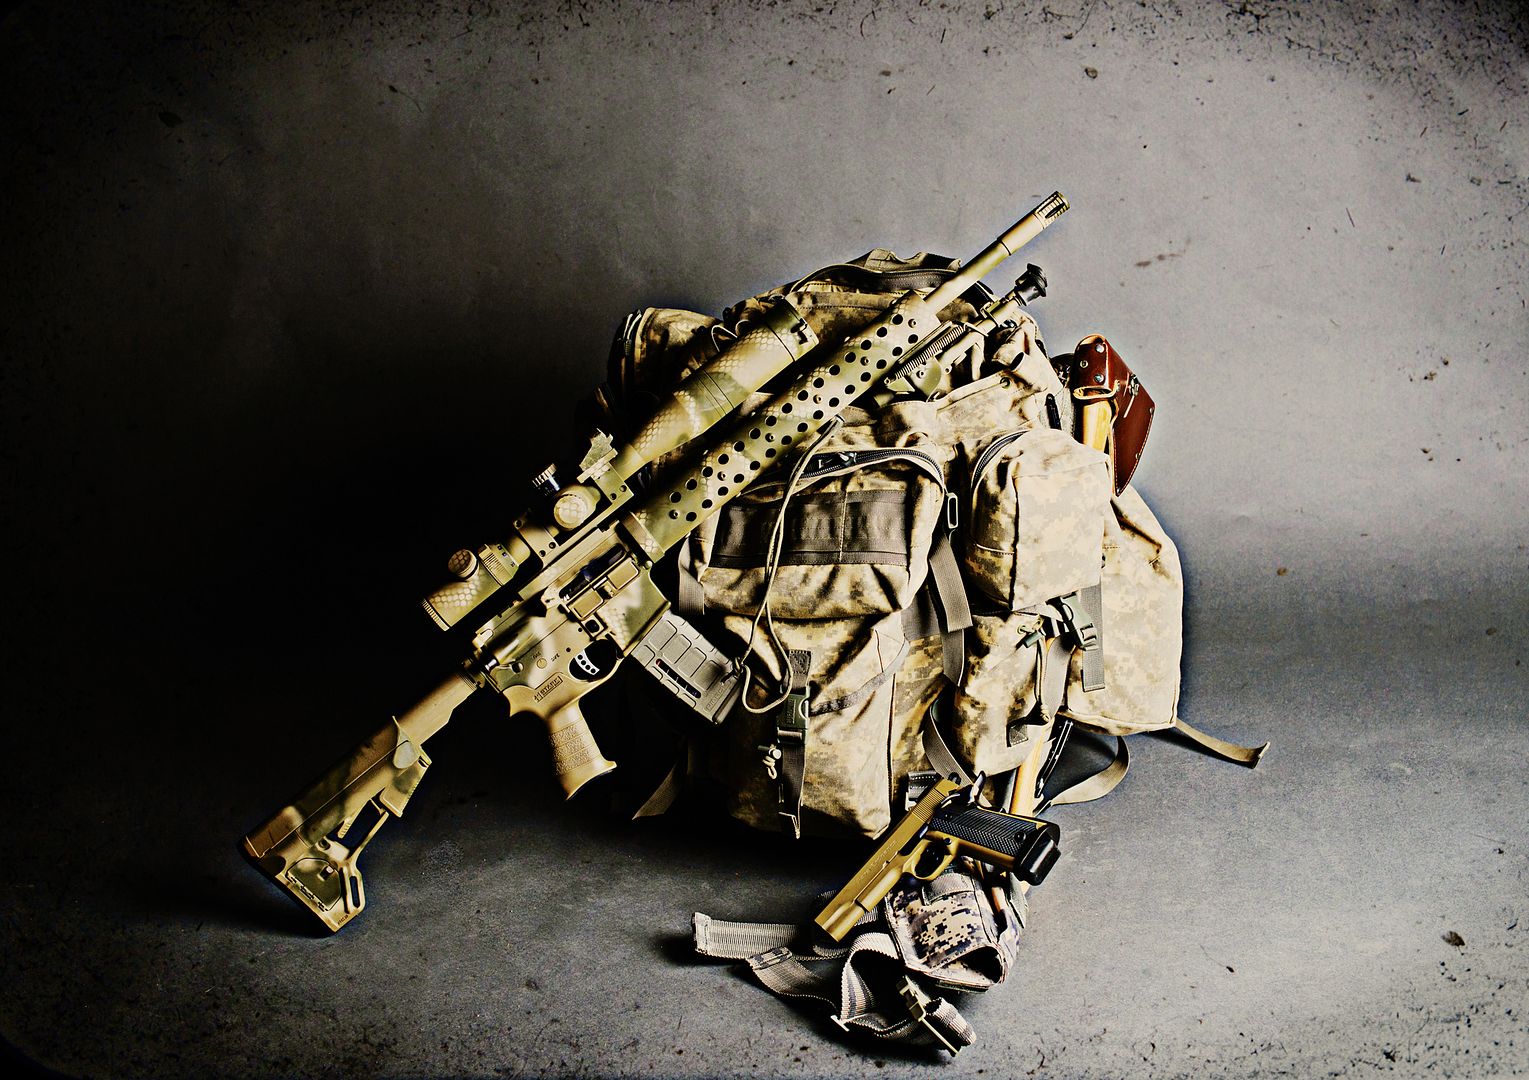
I also like to coat the scope mount and scope, especially when matching a camouflage pattern. Here's an example of that:
My perspective on coating is that it's a final touch on a well-built gun, where attention to detail has been applied in every respect to the builder's capabilities. In the above case, most of that was done already because it's a complete AA gun with a cut-rifled barrel that shoots 5 rounds into .25" at 100yds, and easily swings the flagger IPSC at 700yds. There's a laundry list of successful practices that AA used when assembling this rifle, and they simply did not slap a bunch of common AR15 parts together, put a Grendel barrel & bolt in it, and call it good.
To go into the detail of what AA did to make that happen, it would consume much more time than I currently have, and would read like a book. I can tell you one thing though, the upper is made to very specific demands with a tight extension tunnel and a square face.Last edited by Guest; 01-03-2014, 07:43 PM.Comment
-
LRRPF I would buy the book if you get it published. I got the lapping tool sqare the face. That worked well. In most of the uppers I have put together the extension does not fit in the tunnel as tight as I would like. I was thinking that a coating would be a good to tighten the fit. How thick can you build up the tunnel? Is there something else you can do? Dont laugh maybe a a layer of aluminum foil? I do not like the idea a blue locktite.Comment
-
LR, do you bake after each color, or let each color dry and apply the next with a final bake?LIFE member: NRA, TSRA, SAF, GOA
Defend the Constitution and our 2A Rights!Comment
-
OK, what are the specs on the diameter of the barrel extension, and what are the specs for the ID on the upper?
Edit,
Any one have the OD on the lapping tool? I've got a lathe and plenty of stock :-).Last edited by Guest; 01-03-2014, 11:40 PM.Comment
-
Here is the upper machine drawing. http://www.firearmfiles.com/files/AR...er_flattop.pdfOriginally posted by customcutter View PostComment
-
If it's true that we are here to help others, then what exactly are the others here for?Comment
-
Yup. I bake after each color, which is where it can get really fun when you're doing a pattern, and why you might notice that none of my guns except for one has any kind of a pattern on it. It's actually faster that way than waiting the amount of time that it takes to let the H-series air dry to an acceptable level, and I need to be able to apply templates and handle the parts when matching the pattern.Originally posted by BjornF16 View Post
I wish my little 16" looked like the 20" above.
This is why some companies specify certain ID's when having their uppers made for them, or machine shops that make billet sets cut theirs with tight extension tunnels, like JP & Mega, requiring a temp fit. Tight fit and temp fit seem to be the best approach, with bedding compound being the next best. All should be square.Posted by Walter: LRRPF I would buy the book if you get it published. I got the lapping tool sqare the face. That worked well. In most of the uppers I have put together the extension does not fit in the tunnel as tight as I would like. I was thinking that a coating would be a good to tighten the fit. How thick can you build up the tunnel? Is there something else you can do? Dont laugh maybe a a layer of aluminum foil? I do not like the idea a blue locktite.
I think I have seen at least one person use aluminum foil and blue loc-tite. There really isn't an issue with using blue loc-tite, other than needing a little bit of heat and some Kroil or thin penetrating oil that is allowed to set overnight when you want to remove the barrel.Comment
-
EC, Thanks, on page 8 it shows 1.000" +/- .002".Originally posted by explorecaves View Post
NF, If the tool is 1.000 and the upper is 1.002 that would be a tight slip fit. I'll see if I've got the tools to measure mine properly tomorrow with a mic. I may still be making a tool to check the squareness on the upper and lapping if needed.Comment
-
It is correct (checked with both a dial and electronic caliper) and, yes, it is a tight fit. Light machine oil is recommended to facilitate the fit. I've read some reviews of the tool, where the user apparently had the -.002 tolerance upper, and was not able to fit the tool. My thought is that if you went with 0.998", it should still serve well, and keep the tool reasonably straight.Originally posted by customcutter View PostIf it's true that we are here to help others, then what exactly are the others here for?Comment
-
If you have the lathe, I would make two tools. One at 1.000" and another at 0.998" That way you have all your bases covered and will still have the tight tolerances to ensure a square face.Originally posted by NugginFutz View PostComment
-
I just measure my lapping tool and it's .998" along the shaft that inserts into the carrier raceway. I also use oil when spinning it in the upper.Comment
-
-
Yeah - I was surprised to see mine measuring at 1.000". Luckily, it has fit all my uppers. There is also the distinct possibility that I should have wiped it down more thoroughly before measuring. Either way, 0.998" seems to be the way to go, if you wish to roll your own.If it's true that we are here to help others, then what exactly are the others here for?Comment
-
Thanks guys. Sounds like .998" it is then. I was hoping to avoid buying or making one but the earlier post about having to lap a CMT upper has me concerned now. I'd rather make parts, tools, etc, when I can. I'm not a machinist, but I have lot of machinist tools and it helps me learn more skills when I do "make" something. I'd take a class, but the closest one is 50-60 miles one way and $4500 a year. I just can't justify it.Comment


Comment